Summary
Show content
Introduction
This is part of my DevOps learning journey! If anything seems off, feel free to leave a comment or connect with me on Linkedin (LucJosin) or
GitHub (LucJosin) .
While studying DevOps and containerized applications, one of the first things that we learn is: How to do a deployment pipeline to get your containers/images built, tagged, and pushed automatically.
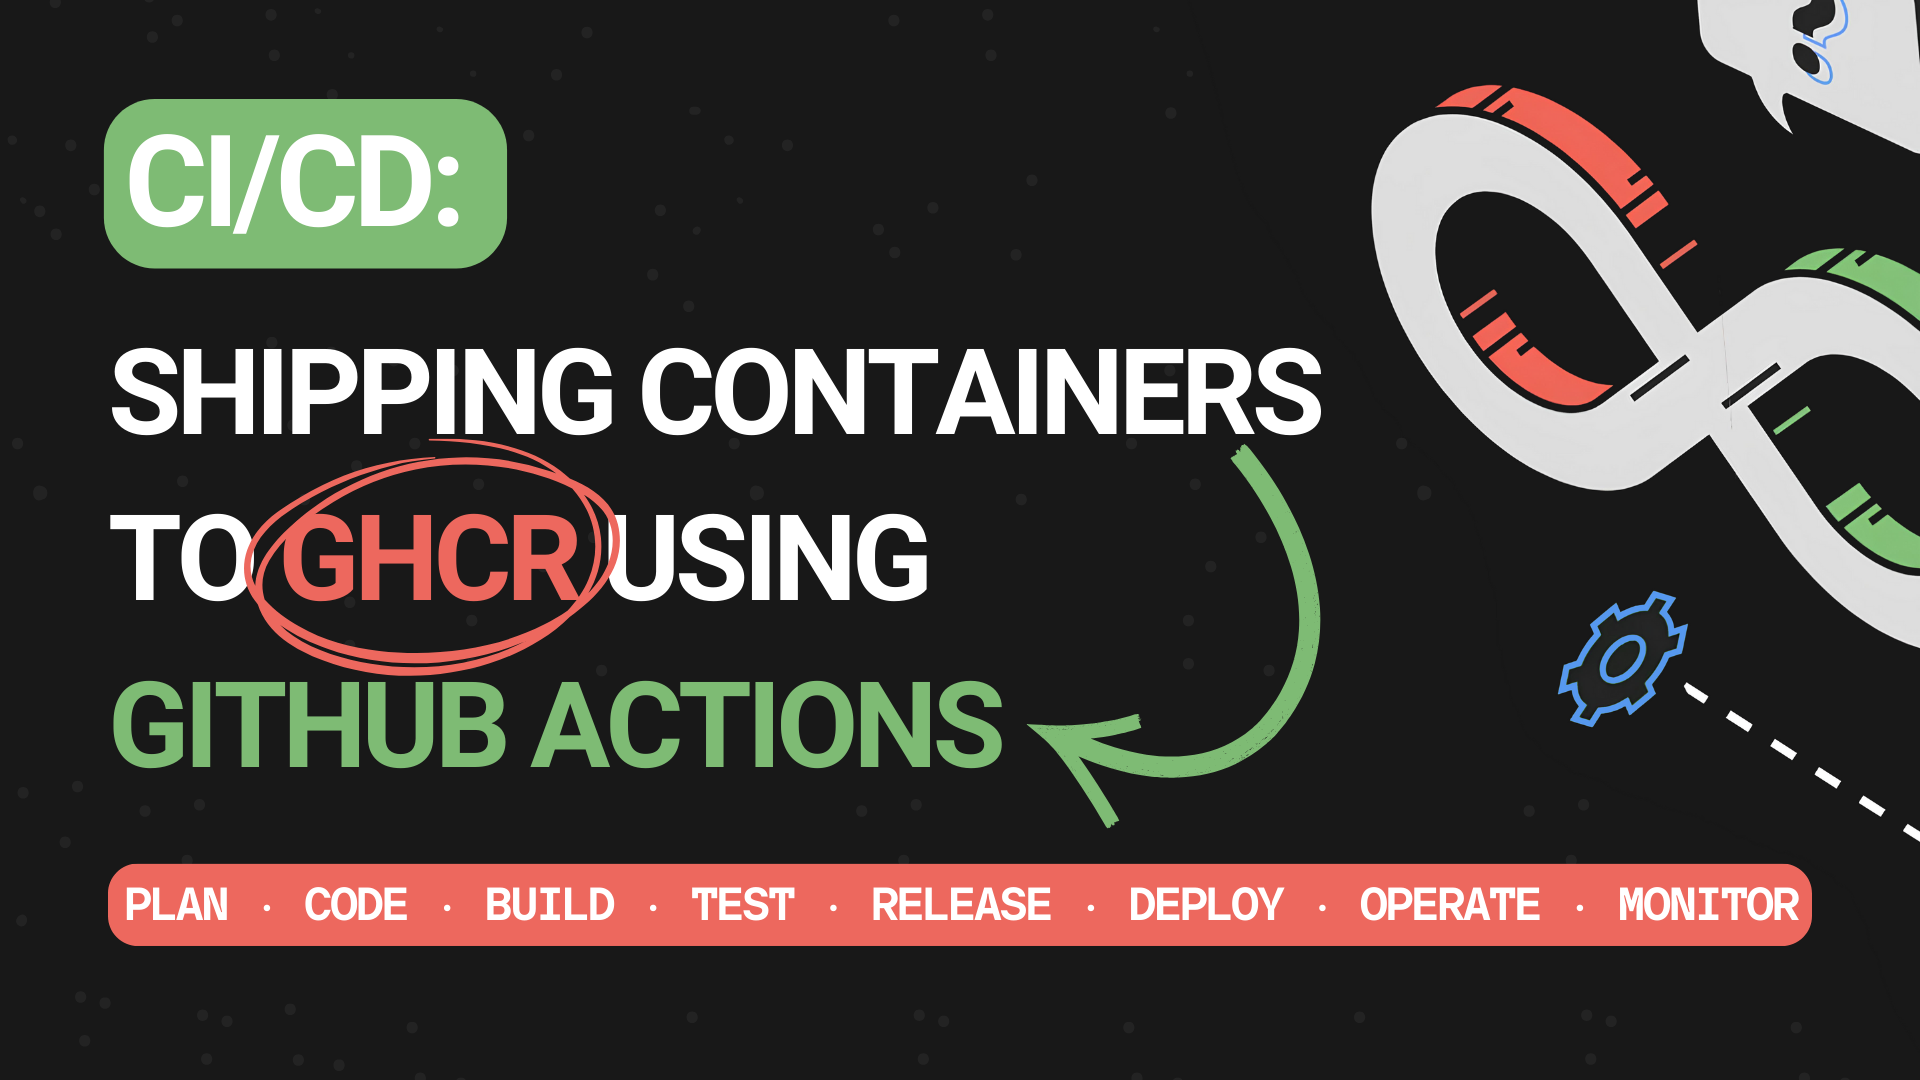
In this post, I’ll walk through how I set up a CI/CD workflow using GitHub Actions to publish containers/images to GitHub Container Registry (GHCR).
What is CI/CD?
The CI/CD stands for Continuous Integration and Continuous Deployment (or Delivery).
- CI: Automates the process of testing and building code every time you push changes.
- CD: Automates deployment, getting your code into an enviroment (e.g: production/devlop).
By using both, you ensure every change is integrated, tested, built, and shipped quickly.
What is GHCR (GitHub Container Registry)?
The GHCR is GitHub’s native container registry, similar to Docker Hub , but more integrated with GitHub. It allows you to:
- Store and manage containers/images
- Associate images directly with repositories
- Control access via GitHub permissions
It’s free for public repositories and supports private image hosting too. Plus, it works perfect with GitHub Actions.
Visual workflow
Here’s a visual workflow for the CI/CD:
Loading graph...
Application overview
For this post, I built a simple Golang webapp. You can find the code in the GitHub repository:
Setting up the Dockerfile
Before setting up our GitHub Actions workflow, let’s define the Dockerfile, which describes how to build and run our Go application inside a container.
Here’s the complete Dockerfile:
1# ---- Build Stage ----2FROM golang:1.22-alpine AS builder3
4# Set working directory5WORKDIR /app6
7# Install necessary packages8RUN apk add --no-cache git9
10# Copy go mod file11COPY go.mod ./12
13# Download dependencies14RUN go mod download15
16# Copy the rest of the source code17COPY . .18
19# Build the Go app20RUN GOOS=linux go build -o app main.go21
22# ---- Run Stage ----23FROM alpine:latest24
25# Set working directory26WORKDIR /app27
28# Copy the binary and template files from the builder stage29COPY --from=builder /app/app /app/index.tmpl ./30
31# Expose port32EXPOSE 808033
34# Run the application35CMD ["./app"]
In this case, we used a multi-stage Dockerfile:
Build:
- Sets up the Go environment using a image (with Golang configured).
- Installs necessary packages (like Git, used for Go fetching dependencies).
- Copies the source code and modules files.
- Downloads dependencies with
go mod download. - Builds the application into a binary using
go build.
Run:
- Uses a lightweight (base) image to keep the final image small.
- Copies the compiled binary from the build stage.
- Sets the working directory.
- Exposes the port the app will use.
- Defines the command to run the app.
Setting up the GitHub Actions
Now that we have defined the instructions/steps to build the image, let’s configure our build.yml workflow, this file tells GitHub Actions how and when to execute automated actions/steps/tasks.
GitHub let’s you have multiple workflow files, all .yaml configuration have to be in .github/workflows/ directory.
Here’s the complete workflow file:
1# Workflow name shown in the GitHub Actions2name: 'Build and Push to GHCR'3
4# Trigger the workflow when pushing a tag like: v1.0.05on:6  push:7    tags:8      - 'v[0-9].[0-9]+.[0-9]'9
10# Set environment variables available to all steps11env:12  GHCR_TOKEN: ${{ secrets.GHCR_TOKEN }} # GitHub Container Registry token (set in repository secrets)13  CONTAINER_NAME: lucjosin/go-webapp-ghcr # Image name to publish (all lowercase)14  USER_NAME: LucJosin # GitHub username used for GHCR authentication15
16jobs:17  build-and-push:18    runs-on: ubuntu-latest # Use the latest Ubuntu runner19
20    steps:21      # Step 122      - name: Set up checkout23        uses: actions/checkout@v424
25      # Step 226      - name: Set up latest git tag27        run: |28          RAW_TAG="${GITHUB_REF#refs/tags/}"29          VERSION="${RAW_TAG#*@}"30          echo "VERSION=${VERSION}" >> $GITHUB_ENV31          echo "Version: $VERSION"32
33      # --- Build Stage ---34
35      # Step 336      - name: Docker build37        run: |38          docker build -t ghcr.io/${{ env.CONTAINER_NAME }}:latest .39          docker build -t ghcr.io/${{ env.CONTAINER_NAME }}:${{ env.VERSION }} .40
41      # --- Push Stage ---42
43      # Step 444      - name: GitHub (GHCR) login45        run: echo $GHCR_TOKEN | docker login ghcr.io -u $USER_NAME --password-stdin46
47      # Step 548      - name: GitHub (GHCR) push49        run: |50          docker push ghcr.io/${{ env.CONTAINER_NAME }}:latest51          docker push ghcr.io/${{ env.CONTAINER_NAME }}:${{ env.VERSION }}
The workflow contains the following steps:
- Set up checkout: Setup the configure repository code (so that the workflow can access it).
- Set up latest git tag: Extracts the version from the latest Git tag.
- Docker build: Builds the image, tag with versions: latest and env.VERSION (defined earlier).
- GitHub (GHCR) login: Logs into GHCR.
- GitHub (GHCR) push: Pushes the images to GHCR.
The CONTAINER_NAME variable MUST be in lowercase.
After publishing a new release version (like v1.0.0):
- Your image will appear in the Packages section of your repository.
- You can pull it on any host by using the full image path.
Preparing the Environment
We need to prepare the repository environment before the workflow run, it involves: Updating workflow permissions and Creating a GHCR token:
Updating workflow permissions
This workflow require additional permissions to run successfully. This ensures that your workflows have the necessary access to read, write, and accessing secrets, follow the steps in the GIF below to update them:

You can find these settings in your repository’s Settings > Actions > General section
Creating a GHCR token
You can go to github.com/settings/tokens/new?scopes=write:packagesto create a new token, the ?scopes=write:packages param will correctly select the write:packages scope that will be use to download and upload container images.
Note that, according to the docs:
- GitHub Packages only supports authentication using a personal access token (classic).
- By default, when you select the write:packages scope for your personal access token (classic) in the user interface, the repo scope will also be selected.
See more at docs.github.com
If you don’t know to add a secret in a GitHub Repository, open the box below:
How to add a secret in a GitHub Repository
Go to the repository on GitHub.
Click on the “Settings” tab of the repository.
In the left sidebar, navigate to “Secrets and variables” > “Actions”.
Click the “New repository secret” button.
Fill in the fields:
- Name: the name of the secret (e.g.,
GHCR_TOKEN) - Secret: the value of the secret (e.g., your personal access token)
- Name: the name of the secret (e.g.,
Click “Add secret” to save.
Triggering the workflow
Once the GitHub Actions workflow is defined, you can trigger it by pushing a new tag that follows the version pattern defined in the workflow:
1git tag v1.0.02git push origin v1.0.0After the tag is pushed, GitHub Actions will automatically run the CI/CD pipeline, building and publishing the app.

If everything runs successfully, you’ll see the release listed under both the Releases and Packages sections.

Using the image
Now that we have pushed the container image to the GHCR, we can use the following methods to pull and run the application locally:
CLI
The first method to pull and run the image is using the terminal with Docker CLI:
1docker run -d --name golang-app -p 8080:8080 ghcr.io/lucjosin/go-webapp-ghcrStep by step:
- docker run -d: Pull and start and starts a new container in
detached mode. - —name golang-app: Define the name
golang-appto the container. - -p 8080:8080: Opens port
8080of the container to port8080on your host machine. - ghcr.io/lucjosin/go-webapp-ghcr: This is the image being pulled and run (Remember to use your image).

Compose
The second method to pull and run the image is using the compose.yaml file:
1services:2 app:3 image: ghcr.io/lucjosin/go-webapp-ghcr4 container_name: golang-app5 ports:6 - '8080:8080'Run the following command in the same directory as the file:
1docker compose up -d- Whether you use the first or second method, the container will be up and running at
http://localhost:8080. - Remember to change the
ghcr.io/lucjosin/go-webapp-ghcrto use your image path.
Conclusion
Configuring GitHub Actions and deploying to GHCR is a great introduction to CI/CD in the DevOps world. It reduces manual work and enables the creation of more complete automation workflows.
I hope this gives you a clear starting point for automating your own deployments.